(855) 676-0881

The Complete Screen Door Manual: Professional Calibration vs. DIY Precision


Published: Oct 12, 2026

Fresh, seasonal air is one of the simple pleasures of homeownership, yet the barrier keeping bugs out and drafts moving—your screen door—is often deceptively complex. Homeowners frequently stand at a crossroads: is it better to buy a retail kit and spend a weekend troubleshooting, or hire a professional?

Understanding the structural physics, tool requirements, and common calibration errors is essential to making an informed decision for your home.
The Decisional Matrix: DIY vs. Professional Installation


When evaluating screen door options, costs and structural risks are key factors. According to industry data, the average cost for screen door installation sits at $300, but can range from $75 for basic wood or vinyl utility screens up to $2,500 for motorized, double-panel architectural retractable systems.

A DIY installation might seem cost-effective initially, but once you purchase specialized tools (averaging $80) and dedicate 2 to 4 hours of labor, the value proposition changes. This is especially true if you are choosing between door repair vs door replacement on an out-of-square jamb.

While a professional installation from A1 Doors Services carries a flat-rate service fee, it delivers guaranteed plumb alignment, custom-cut frames, and long-term operating durability.


Step-by-Step DIY Retractable Screen Calibration Guide


Retractable screens, like Casper or Larson Brisa, offer an elegant aesthetic, but their mechanisms are sensitive to alignment issues. In fact, handyman surveys show that 22% of homeowners who attempt DIY retractable installations report track binding, magnetic misalignment, or spring tension failures within the first six months. This is almost always caused by an out-of-square door frame.

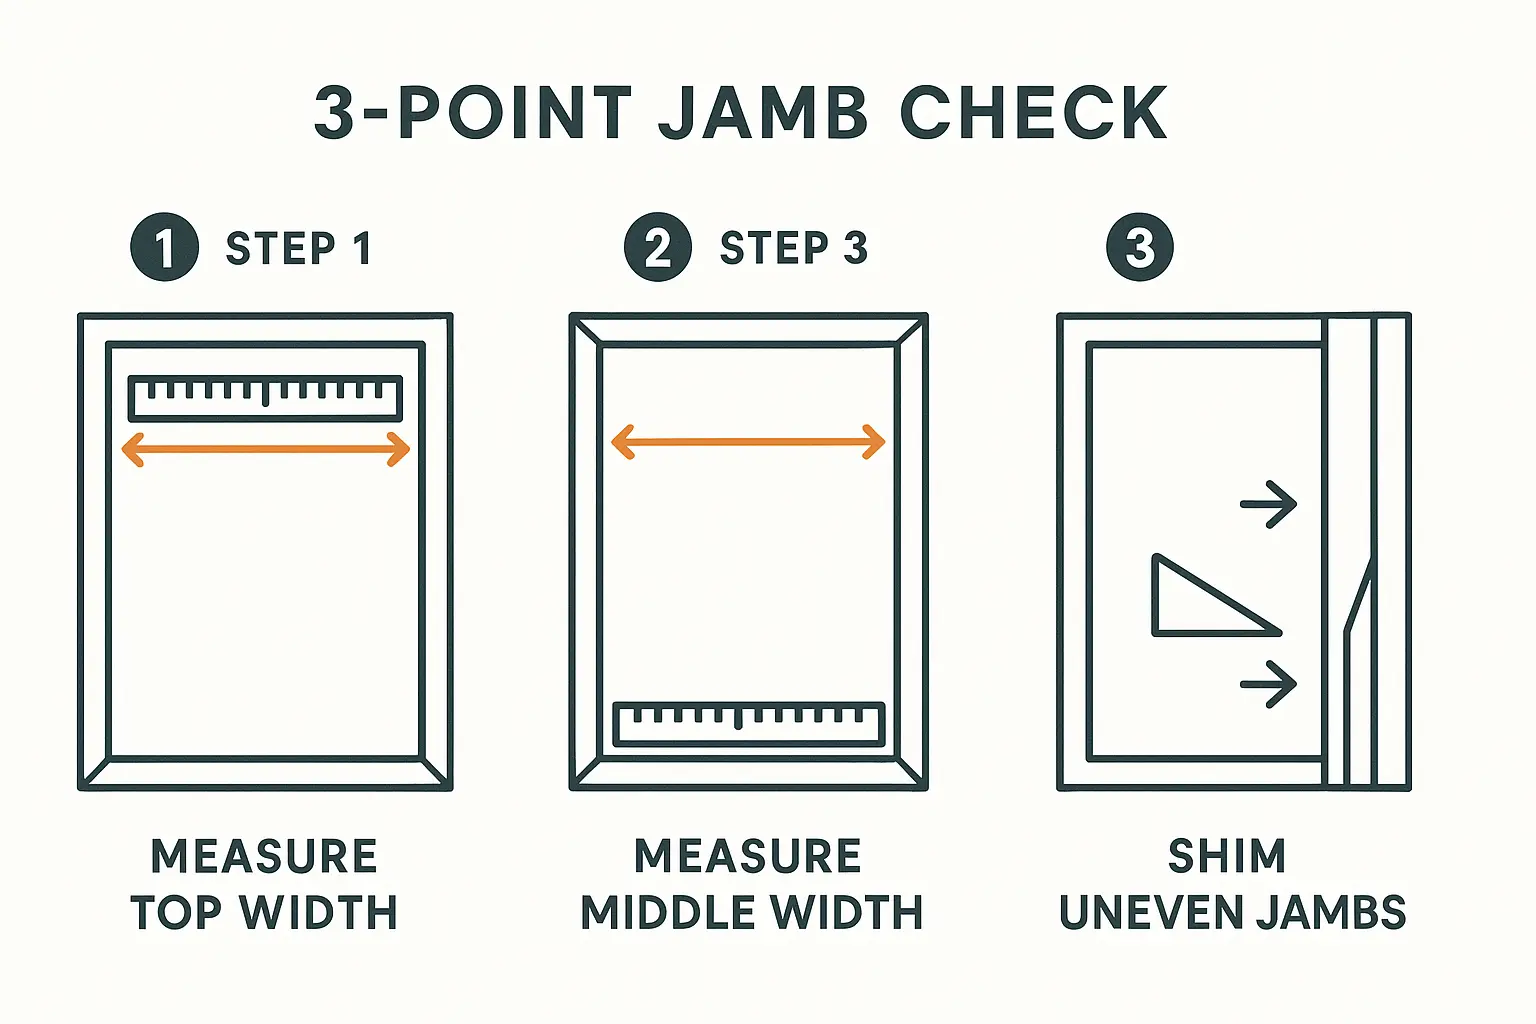
To prevent this, use the 3-Point Jamb Check:

  1. Width Measurements: Measure the horizontal opening at the top, center, and bottom of the frame.
  2. Height Measurements: Measure the vertical opening on both the left and right sides.
  3. Shim Calibration: Standard door jambs are rarely perfectly square. If measurements vary by more than 1/16 of an inch, use thin cedar or plastic shims behind the mounting tracks to ensure the casing remains perfectly plumb.

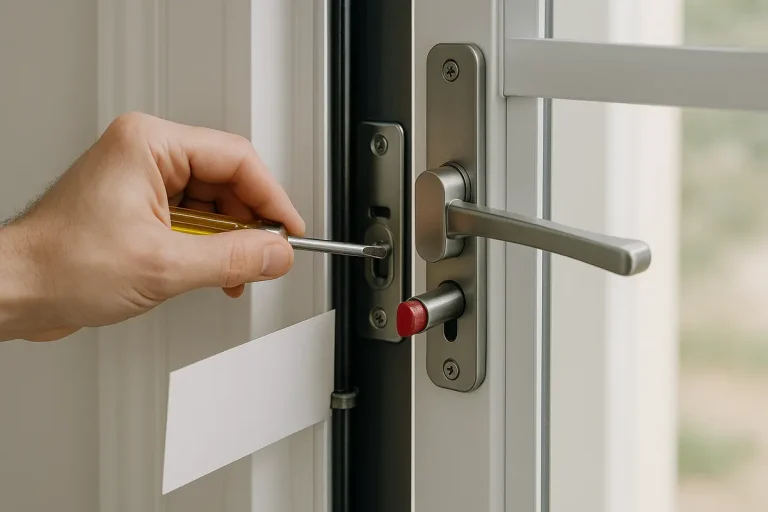
Stepwise visual guide to measuring three key points of a door jamb to determine squareness and how to compensate for irregularities by inserting shims to ensure smooth screen door installation.

Warning: When cutting the metal tracks to size, a single cutting error of 1/16 of an inch will ruin the magnetic seal, resulting in a door that slides open on its own or binds halfway.


Hardware Masterclass: Fixing Sags, Handles, and Chains


Standard screen doors require regular calibration to counteract gravity and seasonal shift. If you are handling diy door troubleshooting, pay close attention to structural hardware.

The Turnbuckle Trap

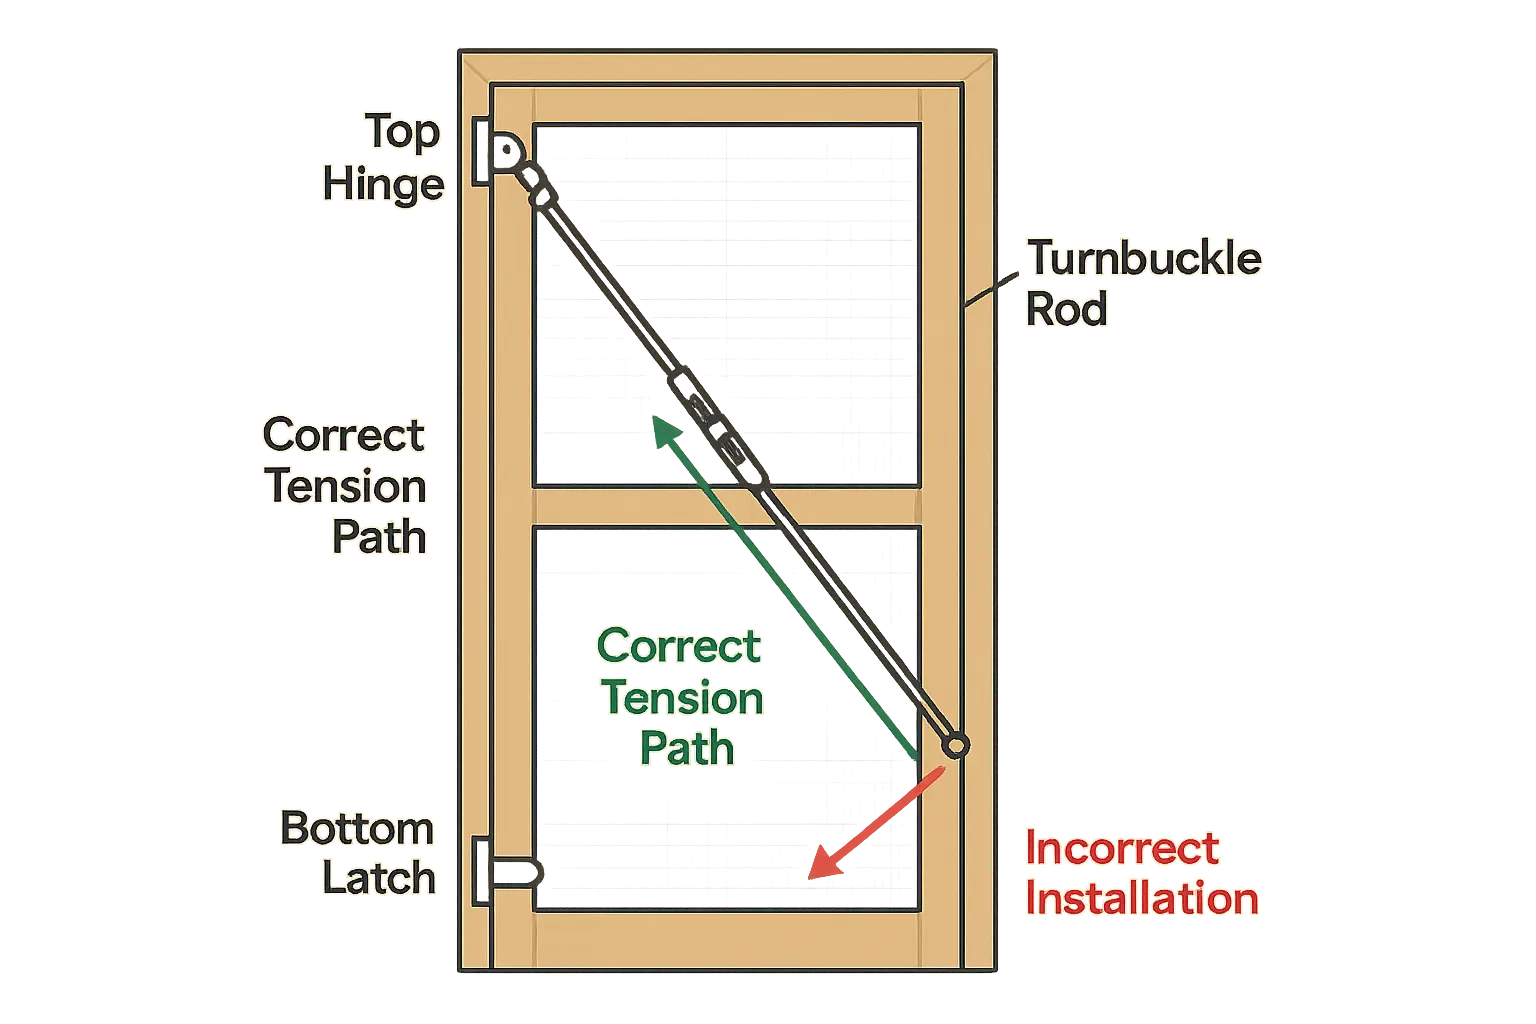
A sagging screen door frame is a common issue, but installing a turnbuckle incorrectly can make the sag worse. To pull the sagging latch side back into alignment, the turnbuckle must run diagonally from the top corner of the hinge side down to the bottom corner of the latch side. This creates upward tension. Installing it backwards pulls the latch side down, worsening the sag.

Illustration of the correct diagonal turnbuckle installation path (top hinge to bottom latch) that effectively lifts sagging corners by applying proper tension, and the common incorrect orientation that worsens sag.

Wind Chain Calibration

A heavy-duty wind chain prevents strong gusts from ripping the door off its hinges. Mount the bracket on the door jamb exactly 12 inches from the hinge side. When drilling into aluminum frames, always use a 1/8-inch cobalt drill bit to prevent the metal from tearing; for wood frames, pre-drill pilot holes to avoid splitting. If you notice structural wood damage, seek professional door jamb repair to restore the frame’s integrity.


Navigating Heavy-Duty Mesh and Pet Screen Installation


Active households often need to replace the screen on a screen door to repair damage from claws, paws, or heavy use. Upgrading to heavy-duty polyester pet mesh, which is up to seven times stronger than standard fiberglass, is a practical long-term upgrade.

Installing this thicker mesh on a swing or sliding and patio door installation requires matching spline sizes. Standard fiberglass usually utilizes a .140-diameter spline. However, because heavy-duty pet mesh is thicker, you must downsize to a .120-diameter spline to fit the screen frame channel without tearing the mesh or bending the frame during installation.


The A1 Doors Safety-Net Guarantee


At A1 Doors Services, we support local DIYers. However, we also know that a warped jamb, a miscalculated track cut, or a bound spring tensioner can stall even well-planned weekend projects.

If you run into issues during a DIY installation, our “Safety-Net Guarantee” has you covered. Our licensed and fully trained technicians will step in, fix frame alignment issues, or complete your installation, ensuring a smooth, reliable fit. We can also integrate your setup with a seamless storm door repair to protect your entryways year-round.

Visual metaphor reinforcing the A1 Doors Safety-Net Guarantee that transforms DIY mishaps into professional rescue with expert installation, alignment, and warranty support.


Frequently Asked Questions


What is the average cost of professional screen door installation?

Professional installation usually ranges from $150 to $350 for labor, bringing the total project cost to roughly $300 to $600 for standard doors. Premium custom installations or motorized multi-panel systems can scale up to $2,500 depending on sizing, track finishes, and structural modifications.

Why does my screen door turnbuckle fail to fix a sag?

If a turnbuckle is installed backwards (running from the bottom-hinge side to the top-latch side), adjusting it will pull the latch corner downward, increasing the sag. To correct this, reinstall the rod diagonally from the top-hinge corner to the bottom-latch corner, allowing the tension to pull the door frame back into square.

How do I measure my door frame for a custom retractable screen?

Use the 3-Point Jamb Check: measure the horizontal width at the top, center, and bottom of the opening, and measure the vertical height on both the left and right sides. If your measurements vary by more than 1/16 of an inch, your door jamb is out of square and will require shimming during installation to prevent the track from binding.