Diagnosing Common Garage Door Sensor Problems: A Master Troubleshooting Guide


Published: Aug 12, 2026

Few home maintenance issues are as immediately frustrating as a garage door that refuses to close. You press the remote, the door travels down a few inches, suddenly reverses, and the overhead motor light begins flashing.

According to industry data, 20% to 22% of all residential garage door repair calls stem from safety sensor malfunctions. Because a door that won’t close compromises your home’s security and exposes your family to safety hazards, getting a rapid diagnosis is crucial.


The 10-Second Emergency Override


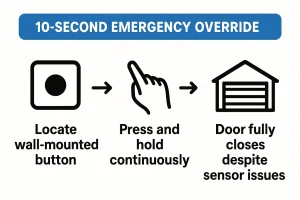
Step-by-step flowchart for the Emergency Override procedure to manually bypass safety sensors and close the garage door quickly in urgent situations.If you are stuck right now and need to secure your home before diagnosing the root cause, you can bypass the safety sensors manually.

  1. Walk over to your wall-mounted control panel inside the garage.
  2. Press and hold the wall button continuously. Do not let go.
  3. Keep the button pressed until the door fully contacts the floor.
  4. Once the door is completely closed, release the button.

Note: Handheld remotes, keypads, and smart-home applications (like MyQ or Aladdin Connect) will not work in override mode. They require active, functioning safety sensors to operate.


Multi-Brand LED Color Decoder Matrix


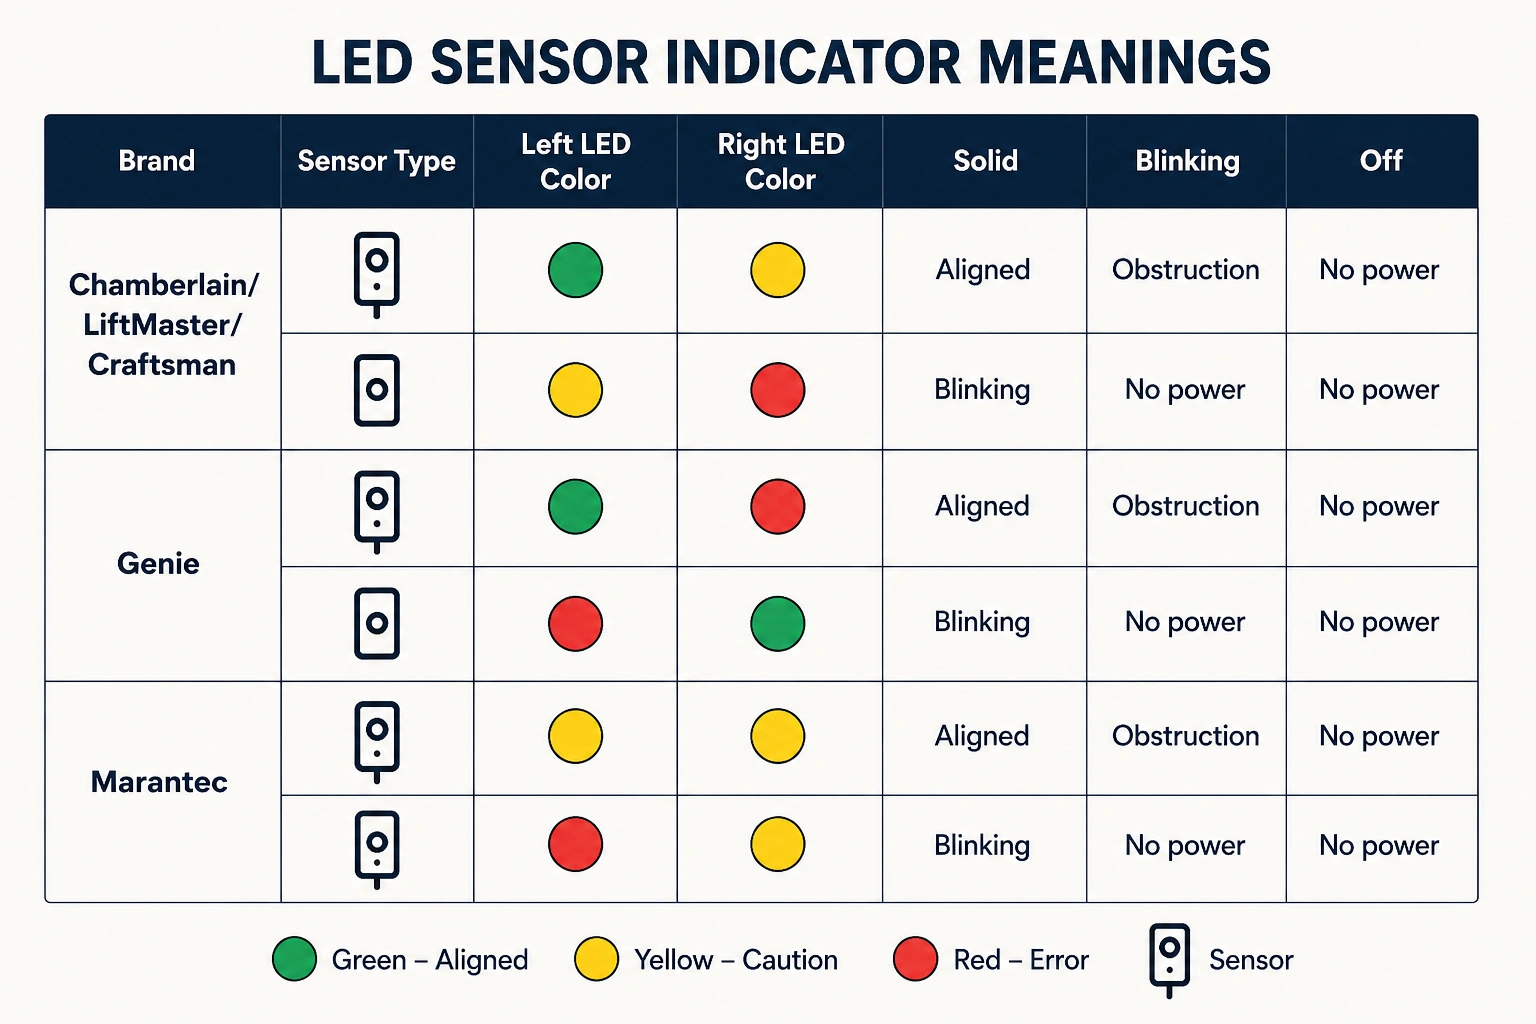
Safety sensors rely on a sending eye (which emits an infrared beam) and a receiving eye. To identify where the communication link is breaking, check the LED lights on both sensor units.

Opener Brand LED Left (Sending) LED Right (Receiving) What Solid Means What Blinking Means What Off Means
Chamberlain / LiftMaster / Craftsman Amber / Yellow Green Aligned and fully operational. Green: Misaligned. Yellow: Low voltage / bad wire. No power, cut wire, or failed logic board.
Genie / Overhead Door Red Green (or Red) Beam is clear and aligned. Red Blinking: Beam blocked or misaligned. No power or shorted wire.
Marantec Red Red Connected and aligned. Blinking: Signal weak or path obstructed. Power failure at the source.

Unified LED color decoder matrix for major garage door sensor brands, simplifying diagnosis of sensor status via LED indicators.


Deciphering Opener Diagnostic Codes


Many modern overhead units communicate failures through flashing indicator lights or digital screens on the motor head.

Chamberlain & LiftMaster Error Sequences

  • 1-1 (1 Up, 1 Down) or 10 Flashes: Reversing safety sensors are misaligned, dirty, or physically blocked.
  • 1-2 (1 Up, 2 Down): Sensor wiring is open, broken, or reversed at the terminal.
  • 1-4 (1 Up, 4 Down) or 4-6 Flashes: Sensors are temporarily obstructed or blinded by direct sunlight.

Genie Safe-T-Beam Error Sequences

  • 3 Blinks: Cross-talk interference (common in multi-door garages where transmitters point toward adjacent receivers) or backward wiring.
  • 4 Blinks: Transmitter source is failing to send pulses, indicating a defective sensor head.

Resolving Track Vibrations and Sunlight Interference


Sometimes, sensors look perfectly aligned when the door is open, but fail once the door starts moving. Two sneaky culprits are usually to blame:
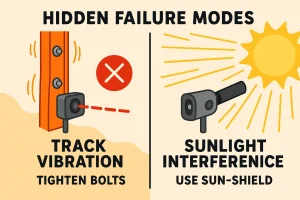
Visual mnemonic highlighting sensor failures from track vibration and sunlight, reinforcing user recall of causes and simple fixes.

Track Vibration Failure

When your motor starts, it creates mechanical vibrations. If your vertical track brackets or mounting bolts are loose, the track will wobble. This wobble shakes the sensor brackets, temporarily breaking the infrared path mid-travel. To test this, perform a Track Shake Test: physically grasp your tracks and check for movement. Tighten all mounting hardware to ensure stability.

Infrared Sunlight Blinding

Sunlight emits heavy infrared light. If direct sunlight strikes your receiving sensor lens, it overrides the weaker infrared beam coming from the sending sensor.


To solve this, try the “Paper Roll Hack”: slide a 3-inch piece of dark cardboard tubing or a clean toilet paper roll over the receiving sensor’s lens. This acts as a physical lens hood, blocking out peripheral sun glare while allowing the straight-line sensor beam to pass through safely.


"Not Sensor" Troubleshooting Guide


If your sensor LEDs are glowing solid and show no signs of trouble, but your door still reverses, check these mechanical and electronic limits:

  • Travel Limits: If your motor thinks the floor is lower than it actually is, the door will hit the ground, perceive it as an obstruction, and reverse. Adjust the down-travel limits on the back of your motor head.
  • Force Settings: If your close-force settings are too sensitive, slight track resistance or cold weather can mimic hitting an obstacle, triggering a safety reversal.
  • The LED Bulb Culprit: Standard household LED bulbs generate significant radio frequency (RF) interference. If you recently installed a new bulb in the opener, it may be jamming the signal from your remote control. Swap them out for shielded, specialized garage-door LED bulbs.

DIY Calibration vs. Professional Resolution


Federal UL 325 regulations dictate that safety sensors must be mounted no higher than 6 inches from the garage floor to protect children and pets from injury.

While cleaning lenses or tightening a wing nut is a simple DIY task, wiring degradation or internal board failures require professional intervention. For instance, Chamberlain, LiftMaster, and Craftsman utilize an interchangeable 2-wire bus voltage system, while Genie and Marantec use unique, non-interchangeable pulse-frequency modulations. Attempting to cross-wire incompatible systems can permanently fry your expensive logic board.

When simple realignment fails, it is highly recommended to seek an experienced a1 garage door service technician. Professional assistance ensures that your automatic garage door service is performed in compliance with federal safety laws, protecting both your property and your loved ones.


Frequently Asked Questions


Why does my garage door close halfway and then go back up?

This is typically caused by either dirty/misaligned sensors, track vibrations shaking the brackets, or excessive physical resistance in the tracks triggering the opener’s safety force limits.

Can I replace only one garage door sensor?

If you use Chamberlain, LiftMaster, or Craftsman, you can swap a single sensor as long as it matches the brand’s voltage requirements. However, it is usually best to replace them in pairs to avoid compatibility issues.

Are all brands of garage door sensors compatible?

No. While Chamberlain, LiftMaster, and Craftsman are highly interchangeable, brands like Genie and Marantec use proprietary signal pulse frequencies and are not compatible with other systems. To learn more, you can evaluate a1 garage door service on garage door openers and automation systems to find the right fit for your home.