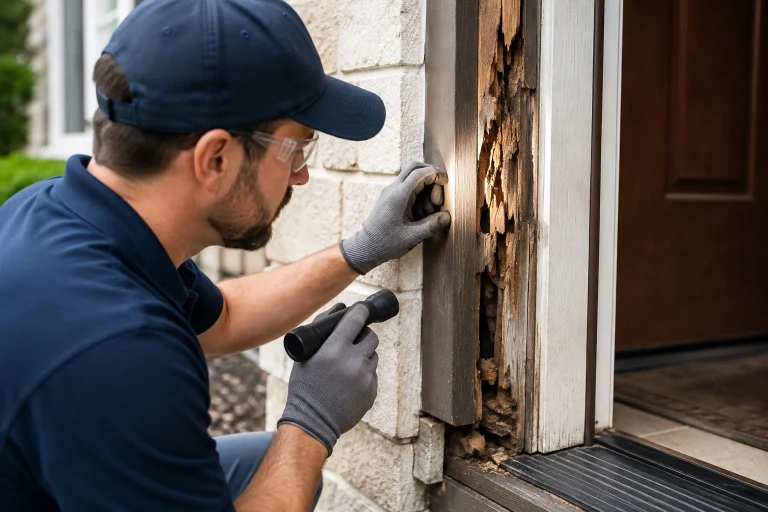
Manufacturer videos show a clean, simple assembly. But the real work happens before you even unbox the door. Thinking of this project as a multi-layered “system” is the key to a leak-proof, structurally sound installation.
Part A: Planning & The Structural Opening
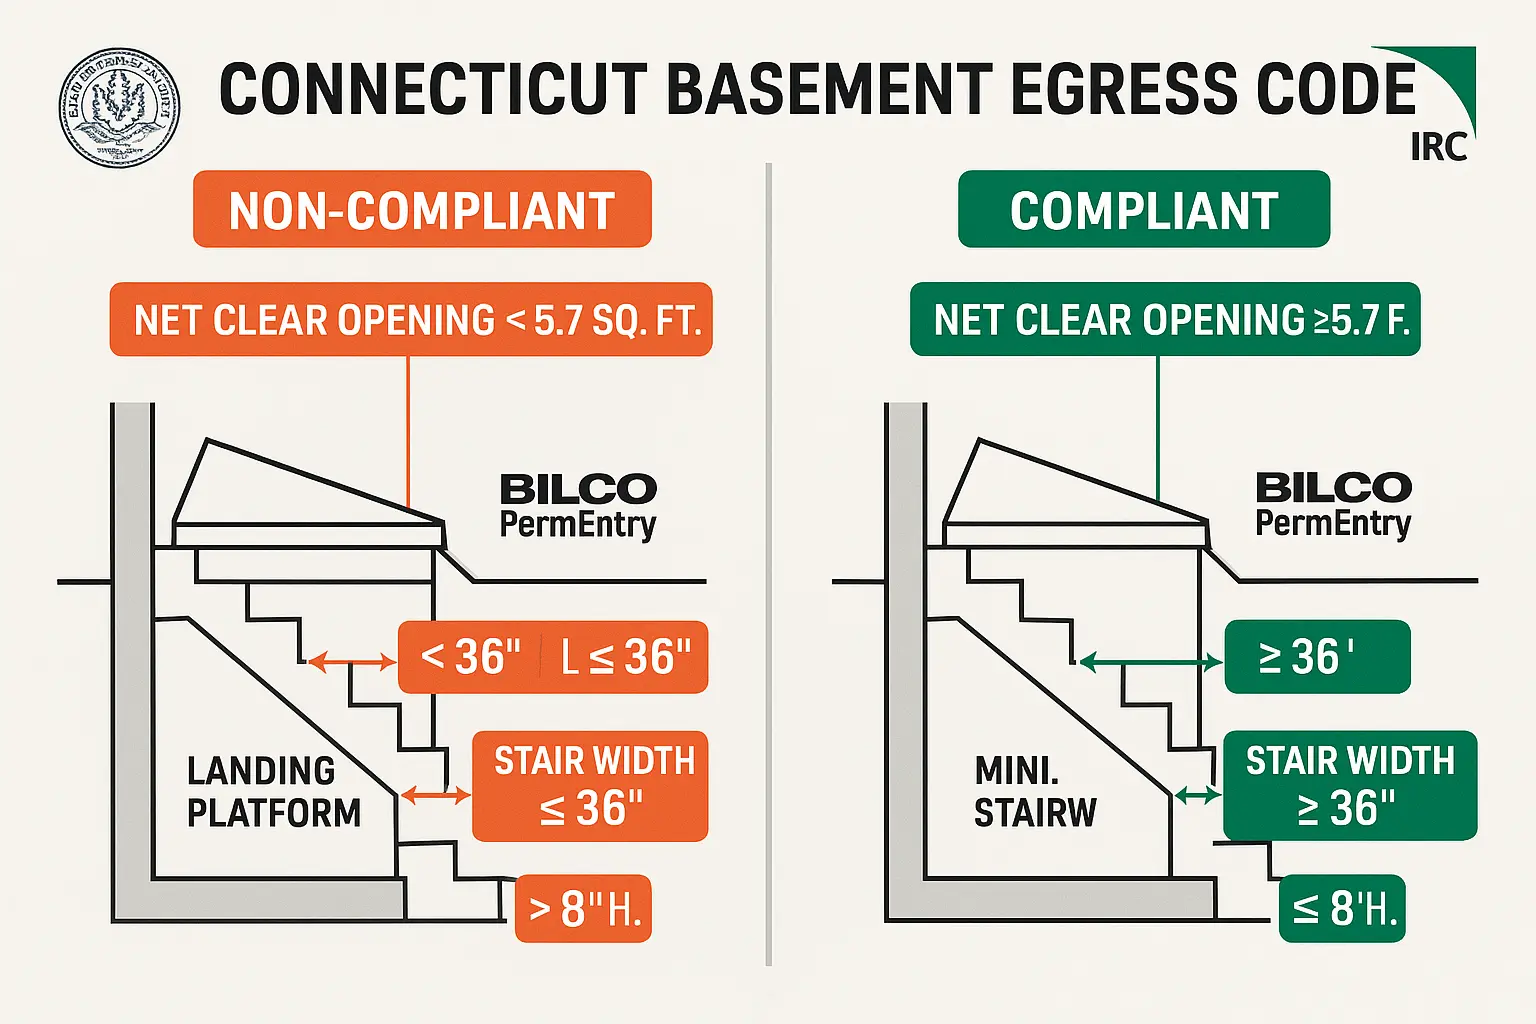
You’re not just adding a door; you’re cutting a hole in your home’s foundation. This is a significant structural change that requires careful planning. An engineer or a highly experienced contractor must determine the right location, ensuring it doesn’t compromise your home’s integrity. A steel lintel or header is almost always required above the opening to carry the load of the house above. This isn’t a simple cut-and-install job; it’s a precise feat of engineering.
Part B: The Waterproofing Envelope
Here’s the “aha moment” for most homeowners: The Bilco door itself is watertight, but the connection between the door unit and your foundation is where 99% of leaks happen. To prevent this, you must create a continuous “waterproofing envelope.”
This involves excavating the exterior, applying a waterproof membrane to the foundation walls that overlaps with the new entryway, and ensuring proper drainage at the base of the stairwell. This drain must be connected to your home’s existing perimeter drain system (like a French drain) or to a dedicated sump pump. Without this integrated approach, water will inevitably find its way in, pooling at the bottom of the stairs and seeping into your finished basement.
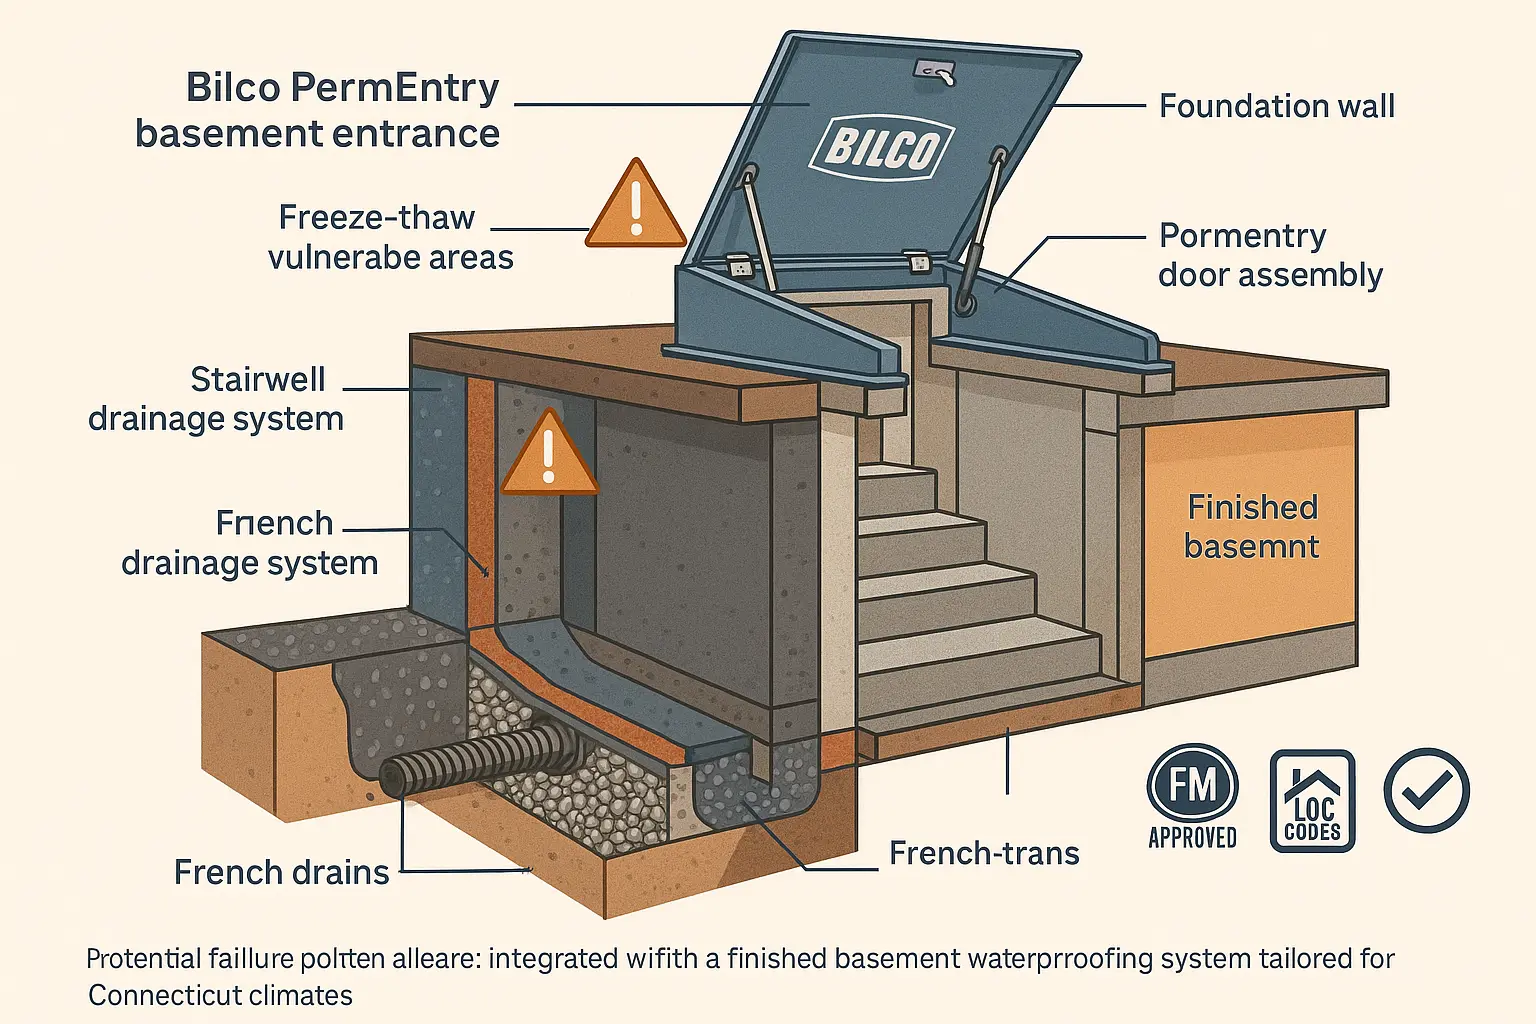
Part C: Assembling & Installing the Bilco Unit
With the structural opening prepared and the waterproofing in place, installing the pre-cast concrete or steel PermEntry unit is relatively straightforward. The key is to follow the manufacturer’s instructions precisely, ensuring it’s level, square, and securely anchored to the foundation. Proper sealing at all connection points with high-quality caulk is the final step in securing the exterior shell.